Showing posts with label Craftivities. Show all posts

Tuesday, August 11, 2015

BTS 2015: Most Loved Bulletin Boards!

I love setting up bulletin boards and decorating my door every year!

I should start off saying I am a crafty person and love to create things for my classroom. I change my bulletin boards a lot but there are always a few that make a comeback EVERY SINGLE YEAR! I am here to share my most favorite bulletin board ideas!

My Classroom Door Every Fall

I am in love this inspirational door! It always starts my year off right! I took inspiration from a Pinterest post and made my own file. I printed off all of the words in black and white and then backed them on Astrobright colored paper. I laminated each section to keep it protected from year to year! It has moved two classrooms and two grade levels but keeps going strong! The holographic polka dots are a Spritz brand garland I found at Target on clearance after New Years a few years back!

Leader in Me Board

As a Leader in me School, I love having the kids think about what it means to be a leader. This board comes up every year at the beginning of the school year. Within the first week I sit down with my class and have them tell what it means to be a leader and where can we be proactive in our lives. I use Vis-a-Vis markers to write down their thoughts and ideas in each colored section. I found inspiration from this Leader in Me Pin. The picture is from Ardena Elementary in Farmingdale, New Jersey. It's super simple to make! I taped together colorful Astrobright paper and ran it through the laminator. I added my signature sparkle border and voila! The kids also drew themselves as a creative addition!

Inspirational: Be You!

I needed to cover above my coat rack because of a damaged wall so I bought some navy blue fabric to match my schools colors.  I wanted something inspirational for the whole year so I found another Pinterest favorite! This time I was lucky enough to find a blogger who had made the original file! Susan from Entirely Elementary...School Counseling made this FREE Be Yourself bulletin board file! She has now made a new board called You Are which is available for a small price on her blog. I printed her file on plain printer paper and backed it yet again with Astrobright colorful paper! 

Reading Month Dr. Seuss Door!

My favorite door of all time was inspired by the Lorax for March is Reading Month! I took inspiration from a Pinterest post on how to make the Lorax Trees. I used black foam pipe insulation from Lowes which looks exactly like a black pool noodle! I used yellow duct tape to make the stripes and made my own pom-poms using tissue from the Dollar Tree. To make the Lorax himself, I used a neon orange and yellow poster board from the Dollar Tree and drew him from the book! I love this door and have kept all the pieces to use around my room from year to year! 

These bulletin boards and doors show a wide range of creativity. Even if you don't think you have that crafty side to you, you can still print words, add some color and make your space come to life! 

Sunday, August 17, 2014

Back to School Open House Treat FREEBIE!

I don't know about you, but on the top of my checklist is open house!
We are having ours the Thursday before school Labor Day.

Last year I gave each family a pack of microwave popcorn that said Thanks for Popping In! This year I am trying to spend less money because the popcorn was pretty expensive. Hence the hunt for a quick and easy treat to give my students at open house!

Here is my solution and a special FREEBIE just for you!

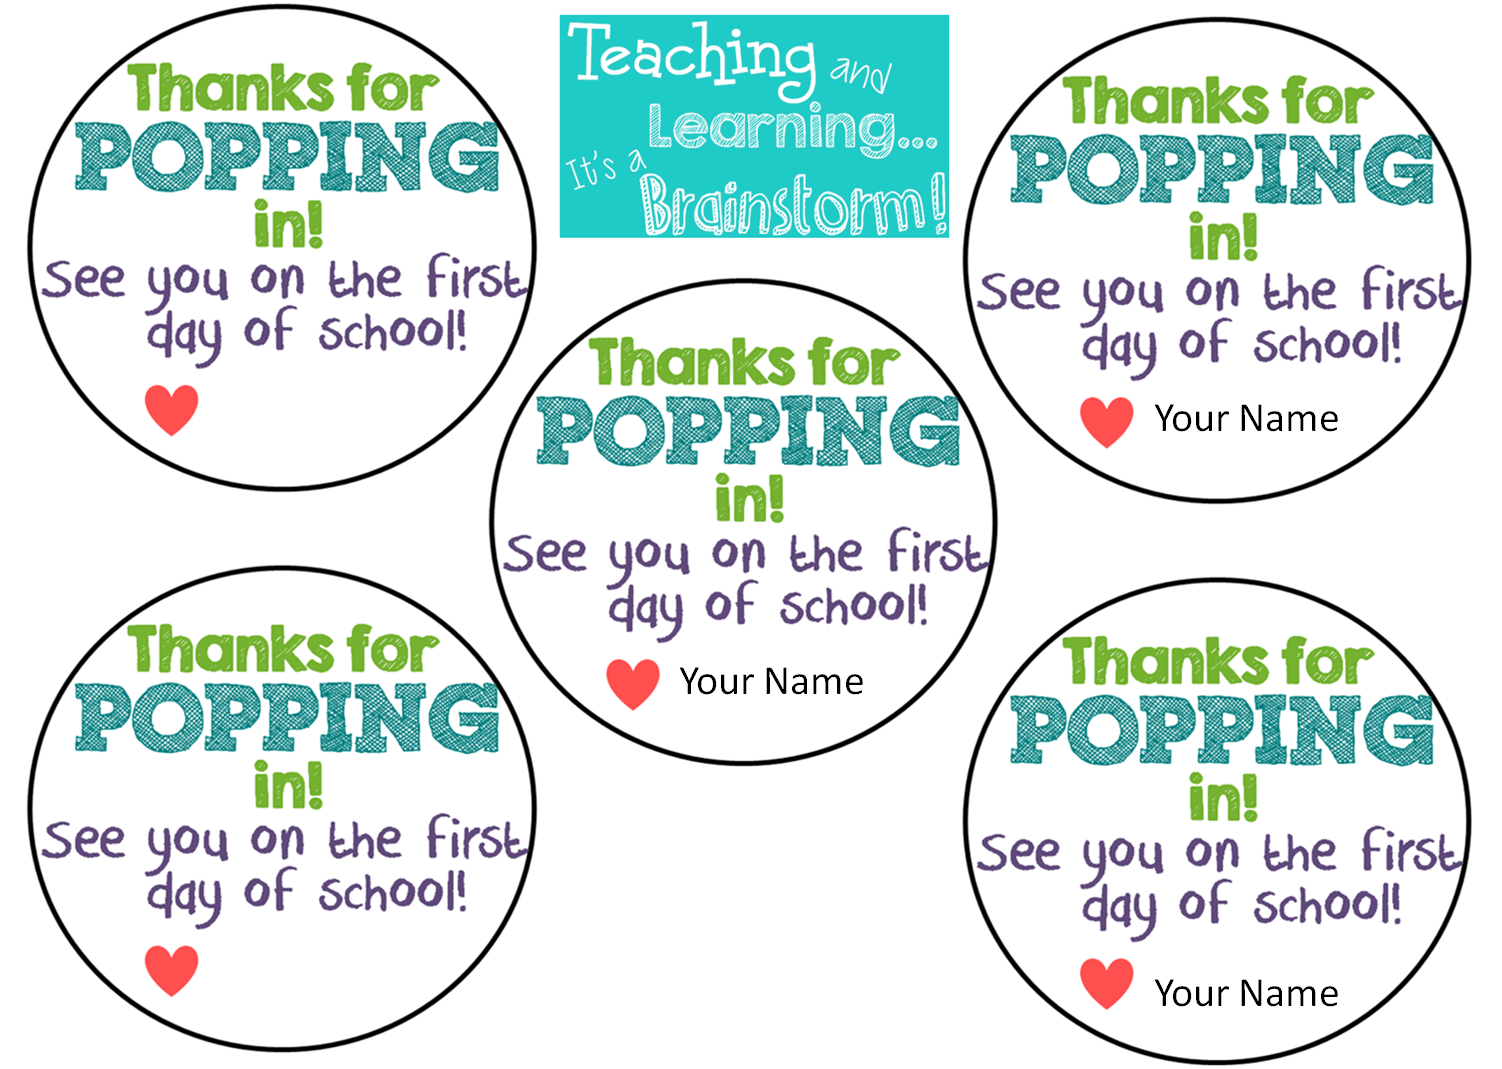
Thanks for POPPING in Blow Pops!

 Teaching & Learning...It's a Brainstorm Open House Treat FREEBIETeaching & Learning...It's a Brainstorm Open House Treat FREEBIE

  FREEBIE is EDITABLE! 

You can personalize these treats with your own name! 

Teaching & Learning...It's a Brainstorm Open House Treat FREEBIE
All you need to do to put these sweet treats together for open house is to print as many as you need, buy some Blow Pops, cut out labels and tape them onto the lollipops! 

Please share on Pinterest and with your friends! 
If you like what you see on my blog, don't forget to follow me by clicking on right hand side or by following me on Bloglovin!

Sunday, August 10, 2014

BTS Craftivity: Pool Noodle Pencil!

Happy Sunday Teacher Friends!

I woke up this lovely summer Sunday morning and stayed in bed browsing Pinterest to see what new things my fellow teachers were pinning. I didn't think that I would come across an image of a classroom door that I fell in love with! 

Here is my inspiration door...

Classroom Brainstorm's Pool Noodle Pencil
The link on Pinterest only takes you to a photo, so I am not sure who to give credit to but I did link the photo for you below so that you can check it our yourself!
http://media-cache-ak0.pinimg.com/originals/bf/be/a7/bfbea7d301d6815b8e0873b452d53a0d.jpg

While I love this door, I already have my go to back to school door up and ready to go. That doesn't mean that I can't take inspiration from the pool noodle pencils and make one myself! 

Here is my final project!


 This project is super simple especially if you already have a pool noodles sitting in your backyard like I did!

Supplies:

  1. Hollow pool noodle in your choice of color.
  2. Tin foil
  3. Scotch tape
  4. Pink acrylic paint (I mixed Red & White!)
  5. Super sharp knife for tapering the pencil end.
  6. A large wooden Dowell Rod, broomstick or old flag pole like I used! You only need a few inches to go inside of your pool noodle!
  7. Sandpaper
  8. Tan or light brown paint
  9. Paint brush
  10. Black Sharpie

Directions:

  • First I mixed red and white acrylic paint and painted one end of the pool noodle, including the top! I used a hair dryer to speed up the drying process.
  • I cut a piece of tin foil off the roll and folded it in half with the dull side out. You can use the shiny side, but I thought the dull side looked more realistic! Then I folded the ends in to make them straight. I taped one end of the foil to the noodle, wrapped the foil around making sure it was straight. I finished by taping the end.
  • Next find a wooden rod that will fit into the hollow hole. I had an old flagpole in my garage. I cut off about 4-5 inches to make sure it would stay inside. I then sanded one end to look like a rounded point. Color the wooden Dowell with a black Sharpie to look like the lead and insert it into the noodle.
  • Take a sharp knife, or a serrated knife and slim down the end to create a point. It was really rough with a serrated knife so I took the sharpest knife I could find to clean it up a little. Don't worry, the paint will conceal any problems!
  • When you have the tip the way you like it, paint it with some tan or light brown paint. I decided to make a zig-zag pattern along the edge but you don't have to! Use a hairdryer to make it dry faster!
  • Use black Sharpie to make lines on the foil to make it look a little more realistic and TA DA!
You can also add a #2 and anything else you would like to personalize your pencil! I am still thinking about what I want my GIANT pencil to say! If you have any ideas, I would love to hear them! Please leave comments below!