Sunday, August 17, 2014

Back to School Open House Treat FREEBIE!

I don't know about you, but on the top of my checklist is open house!
We are having ours the Thursday before school Labor Day.

Last year I gave each family a pack of microwave popcorn that said Thanks for Popping In! This year I am trying to spend less money because the popcorn was pretty expensive. Hence the hunt for a quick and easy treat to give my students at open house!

Here is my solution and a special FREEBIE just for you!

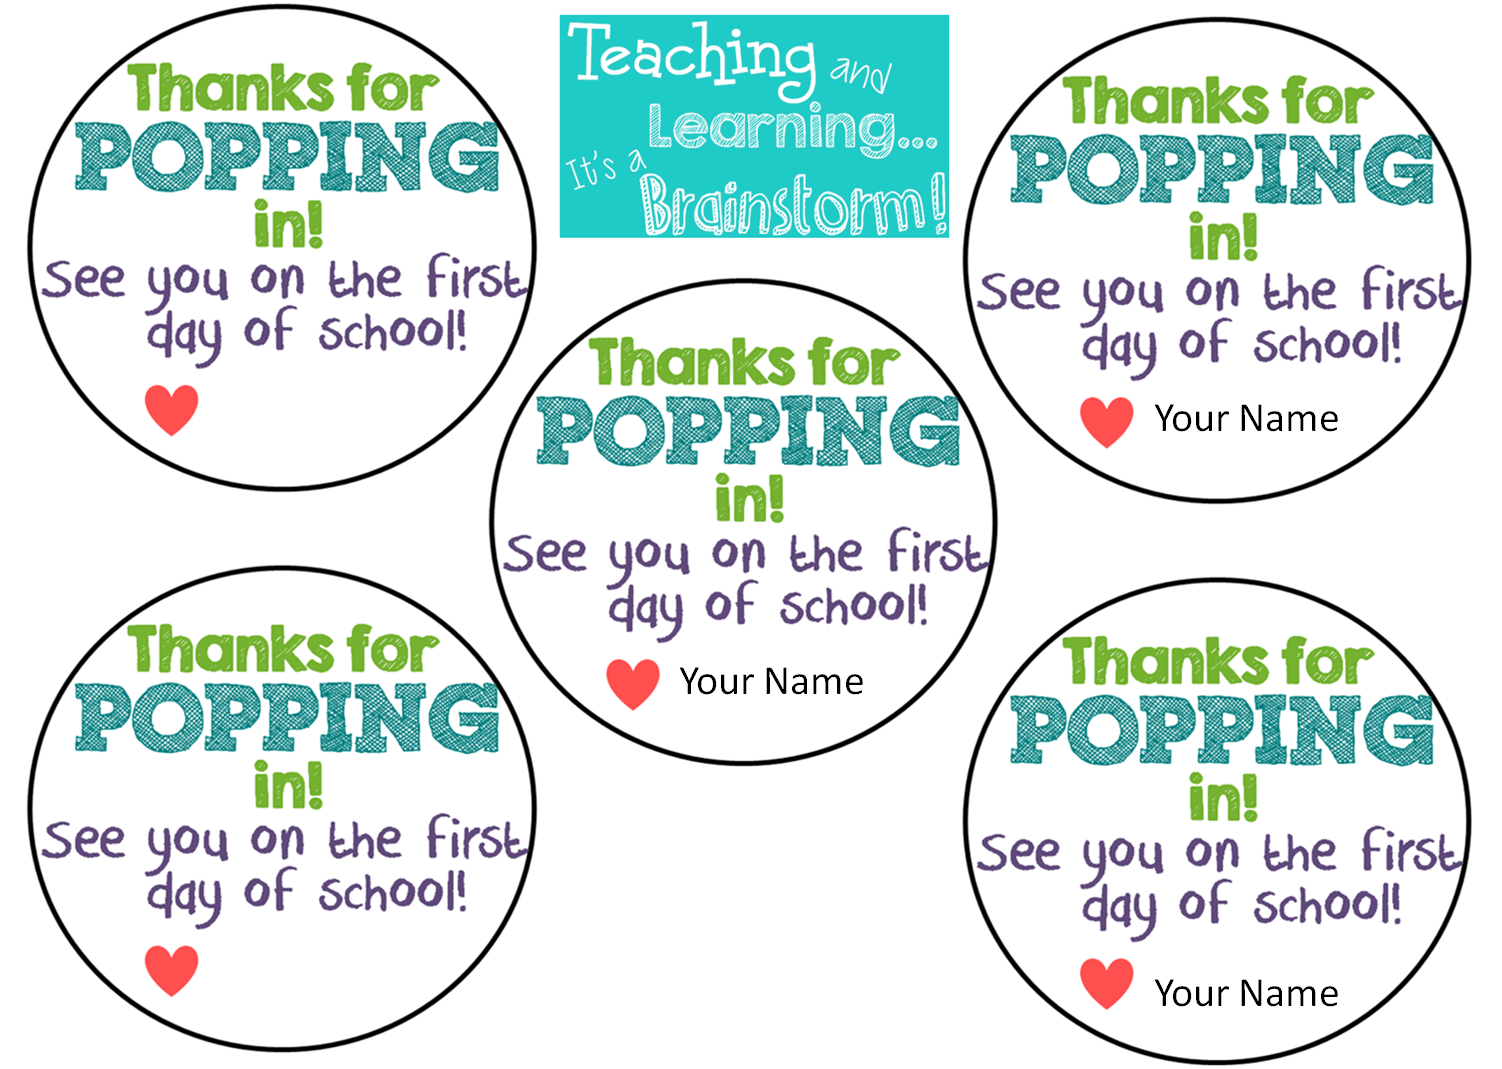
Thanks for POPPING in Blow Pops!

 Teaching & Learning...It's a Brainstorm Open House Treat FREEBIETeaching & Learning...It's a Brainstorm Open House Treat FREEBIE

  FREEBIE is EDITABLE! 

You can personalize these treats with your own name! 

Teaching & Learning...It's a Brainstorm Open House Treat FREEBIE
All you need to do to put these sweet treats together for open house is to print as many as you need, buy some Blow Pops, cut out labels and tape them onto the lollipops! 

Please share on Pinterest and with your friends! 
If you like what you see on my blog, don't forget to follow me by clicking on right hand side or by following me on Bloglovin!

Saturday, August 16, 2014

Anchor Chart Organization

I love using anchor charts to enhance learning within my classroom!

That being said, I feel that it is impossible to find space to hang them or store them when not in use! I also seem to make the biggest mess while creating them with students! Am I the only one that organizes them badly, makes spelling mistakes and ends up crossing out things to make changes? I sure hope not! 

I decided to make some changes to the way I made anchor charts last year. I would create the chart on my whiteboard so that students had a clean copy right away. During prep or after school I would copy the chart from the board nicely onto paper. 

I LOVE the big paper pads you can find at Target in the school supply section! They are smaller than some of the big paper charts and much heavier paper. I also think that the drawing pad is cheaper than chart paper at the teacher store! 

I  then created covers for each subject area, which I laminated, whole punched and put on binder rings. I would attach the newly made chart and hang them up on an open section of wall. When we were done with the chart I would rotate to a new chart or flip back to the cover.  

Check out the pictures of my anchor chart wall. It is currently showing the covers, but trust me that we displayed many different charts all year!


I was happy to find a place to display and store charts at the same time. I would have loved to keep more all around my room, but wall space was scarce. 

How do you create, display and store your classroom anchor charts?

A Very Curious Class Giveaway!

Hey everyone!

I want to direct you to a wonderful blogger who is hosting a giveaway for reaching 100 followers on Bloglovin! She has some great ideas and she inspires me to keep blogging. Maybe someday I will have as many followers as her! : )

 Check her out and enter to win by clicking the link below!

Sunday, August 10, 2014

BTS Craftivity: Pool Noodle Pencil!

Happy Sunday Teacher Friends!

I woke up this lovely summer Sunday morning and stayed in bed browsing Pinterest to see what new things my fellow teachers were pinning. I didn't think that I would come across an image of a classroom door that I fell in love with! 

Here is my inspiration door...

Classroom Brainstorm's Pool Noodle Pencil
The link on Pinterest only takes you to a photo, so I am not sure who to give credit to but I did link the photo for you below so that you can check it our yourself!
http://media-cache-ak0.pinimg.com/originals/bf/be/a7/bfbea7d301d6815b8e0873b452d53a0d.jpg

While I love this door, I already have my go to back to school door up and ready to go. That doesn't mean that I can't take inspiration from the pool noodle pencils and make one myself! 

Here is my final project!


 This project is super simple especially if you already have a pool noodles sitting in your backyard like I did!

Supplies:

  1. Hollow pool noodle in your choice of color.
  2. Tin foil
  3. Scotch tape
  4. Pink acrylic paint (I mixed Red & White!)
  5. Super sharp knife for tapering the pencil end.
  6. A large wooden Dowell Rod, broomstick or old flag pole like I used! You only need a few inches to go inside of your pool noodle!
  7. Sandpaper
  8. Tan or light brown paint
  9. Paint brush
  10. Black Sharpie

Directions:

  • First I mixed red and white acrylic paint and painted one end of the pool noodle, including the top! I used a hair dryer to speed up the drying process.
  • I cut a piece of tin foil off the roll and folded it in half with the dull side out. You can use the shiny side, but I thought the dull side looked more realistic! Then I folded the ends in to make them straight. I taped one end of the foil to the noodle, wrapped the foil around making sure it was straight. I finished by taping the end.
  • Next find a wooden rod that will fit into the hollow hole. I had an old flagpole in my garage. I cut off about 4-5 inches to make sure it would stay inside. I then sanded one end to look like a rounded point. Color the wooden Dowell with a black Sharpie to look like the lead and insert it into the noodle.
  • Take a sharp knife, or a serrated knife and slim down the end to create a point. It was really rough with a serrated knife so I took the sharpest knife I could find to clean it up a little. Don't worry, the paint will conceal any problems!
  • When you have the tip the way you like it, paint it with some tan or light brown paint. I decided to make a zig-zag pattern along the edge but you don't have to! Use a hairdryer to make it dry faster!
  • Use black Sharpie to make lines on the foil to make it look a little more realistic and TA DA!
You can also add a #2 and anything else you would like to personalize your pencil! I am still thinking about what I want my GIANT pencil to say! If you have any ideas, I would love to hear them! Please leave comments below! 

Saturday, August 9, 2014

Lunch Choice Station: Then & NOW!

My first year teaching, my three teaching partners all used lunch choice charts. I joined in because that's what you do when you are scrambling to put a classroom together in three days! However, I have used it ever since and thought it would be the perfect post to share with you...especially since it just got an overhaul!

I love my lunch choice chart! 

First, it keeps my classes student ID cards and Ziplock bags for lunch money organized and easy to find. It also makes my students accountable for making their choice right as they walk in the door every morning. Plus I can tell who is absent or who forgot to choose a lunch with just a quick glance!

Here is an example of my chart! 

Teaching and Learning...It's a Brainstorm Lunch Choice StationTeaching and Learning...It's a Brainstorm Lunch Choice Station
 I put student names on the colored tickets, the Ziplock bags roll up and slide right behind the tickets and the short pocket in front holds their ID cards. When students enter my classroom their grab their ID card and check out the lunch choices for the day. They choose between the hot lunch choices or lunch from home by placing their card in the corresponding pocket on the easel. I also keep my lunch count envelope and lunch signs stored in this easel. The clear tub below holds lunch boxes so my students don't have to run into the hall before lunch to get their things.

It was the perfect setup for me and my students....until I moved...again! 

My new room doesn't have enough space for both the chart and the easel. I found a home for the easel and I know where I want the chart, but the section of brick wall right inside my door is too small for my go to pocket chart! SERIOUSLY!

So as the crazy teacher I am, I have been on the hunt for a new chart that is smaller, yet still holds about 35 pockets. However, after a long search, I am sure that the ideal chart I have conjured up in my mind doesn't exist! Does anyone else do this? You get a great idea in your mind...yet you can't make it happen!
Story of my life!

Anyway, I figured out the next best solution!
A HANGING JEWELRY ORGANIZER!


Teaching and Learning...It's a Brainstorm Lunch Choice Station
I found this adorable chevron jewelry organizer at TJ Maxx for $7.99! 
The organizer has 33 pockets on each side, however I will only be using one side. I added my typical tickets after trimming them down to fit into the smaller pockets. I love it because even though the pockets are smaller they puff out and hold everything I need! I can still fit the Ziplock lunch money bags if I fold them in half and the student IDs can go right in front of their ticket.

Adorable + cheap = PERFECT!Once I get into my classroom I will post a picture of my new lunch chart!

Here is the tag, just in case you want to find one at your own TJ Maxx, Marshalls, or Home Goods! 
Friday, August 1, 2014

Classroom Evolution!

I have taken so many pictures of my classrooms over the years because I have moved three times in four years! I decided it would be fun to take you on a journey of my classrooms from 2010 until now!

Check out each slideshow below!

Sunday, March 30, 2014

Longest Winter Ever!

I can't believe it has been so long since I have posted! This year has been very overwhelming and I have been even more busy than ever before. Anyway, I wanted to share my class's winter writing project!

 Check out how adorable they look on our class bulletin board! My kiddos worked so hard on their writing and on their snow globe projects. I was so proud of them!


Snow Globe Supplies: Large light blue and clear plastic plates from Party City. Fake snow, snowflake confetti and sparkles from Michael's. We used acrylic paint to make the trees, snow and snowmen. I glued the plates together using hot glue! 


Please let me know if you would like a copy of the snow globe base or the writing paper for your own project next winter!